

12 Days of Cookies: Day 5
There is just something so classically pretty about thumbprint cookies. I remember my mom and grandma making these when I was a little girl. Biting into these I can reminisce on the tastes and smells from my grandmother’s kitchen; she was an amazing baker and all around cook.
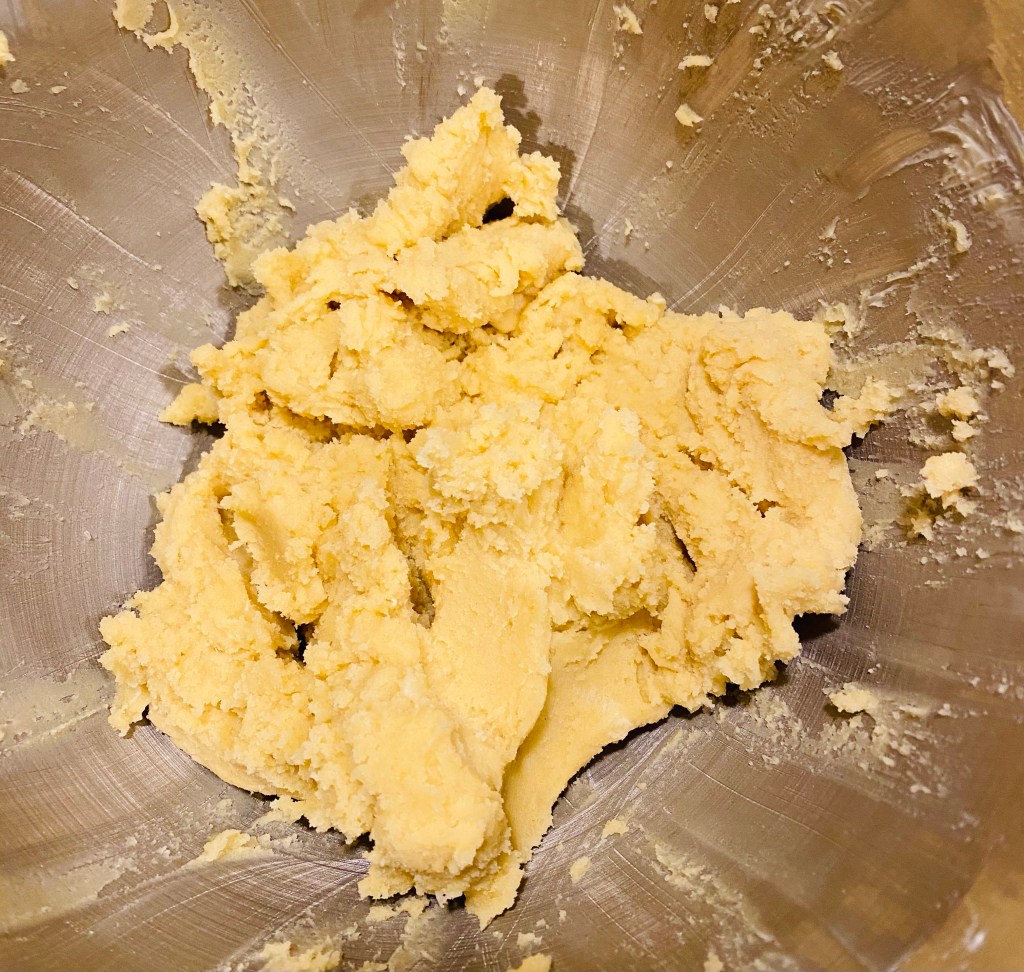
This dough is on the dry side and is very dense (similar to shortbread). When you get the ingredients mixed together it will look crumbly at first. Scrape the sides of the bowl down and keep mixing; it will eventually do its thing and stick together. Have patience!

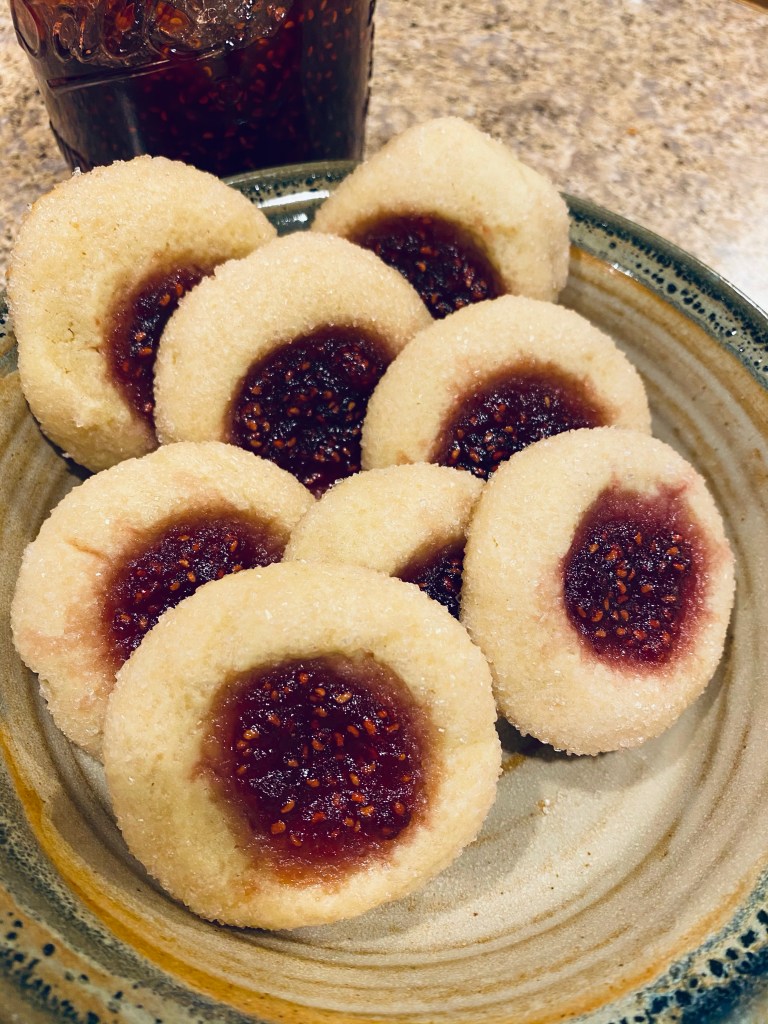
I really recommend rolling these in sugar (or sugar sprinkles). It adds a crunch to them and I personally prefer crunchy cookies. If you want these to be a bit softer and neater looking then you won’t want to roll them in the sugar.

Do you know why they call these thumbprint cookies? You’re supposed to use your thumb to create a crater in the middle for the filling. I much prefer my cookies to look like circles so I use a 1/2 teaspoon measuring spoon to push these down. I also use these as an opportunity to use my homemade raspberry jam. The jam gives these a rougher rustic look whereas if you use jelly it will have a smooth stained-glass look. I always recommend using homemade jam or jelly but you can use store bought. Try using a couple different flavors so you have a blend of different colors.
Ingredients:
- 2 sticks butter (softened)
- 2/3 cup granulated sugar (plus 1/4 cup set aside for rolling)
- 3 egg yolks
- 1 t vanilla extract
- 1 t salt
- 2 1/3 cups flour
- Jam or jelly
Method:
- Preheat oven to 350 degrees Fahrenheit and line two cookie sheets with a silicone baking mat or parchment paper and set aside.
- Cream together butter and sugar until smooth.
- Add eggs and vanilla extract and mix well.
- Mix in salt.
- Slowly add flour to the wet mixture scraping down the sides often. When the mixture looks crumbly keep mixing until it all sticks together.
- Roll dough into heaping teaspoon sized balls and roll in sugar until coated.
- Place cookies on cookies sheets approximately three inches apart.
- Use your thumb or a 1/2 teaspoon measuring spoon to push the cookies down creating craters in the center.
- Fill the craters with jam or jelly (about 1/4-1/2 teaspoon each).
- Bake for 12-14 minutes or until the cookies start to set up and the edges start to brown.
- Let cookies cool on cookies sheets for five minutes before transferring to cooling racks.
- Store in an airtight container in the refrigerator for up to one week or freeze.
This recipe yields approximately four dozen cookies depending upon size.
